A well-detailed car with a showroom shine not only turns heads but also reflects the pride and care you have for your vehicle. While professional car detailing services are available, you can achieve that sparkling finish right at home with the right tools, products, and techniques. In this comprehensive guide, we'll walk you through the step-by-step process of car detailing, sharing tips and tricks to help you attain that showroom-quality shine for your beloved vehicle.
Step 1: Gather Your Supplies
Before you start, make sure you have all the necessary supplies on hand. Here's a list of essential items:
Car wash soap: Choose a high-quality car wash soap that is gentle on your vehicle's paint.
Two buckets: Use one bucket for soapy water and the other for rinsing your wash mitt or sponge.
Wash mitt or sponge: Opt for a microfiber wash mitt or a soft sponge to prevent scratching the paint.
Wheel cleaner: Invest in a wheel cleaner specifically designed for your wheel type (alloy, chrome, or steel).
Brushes: Soft-bristle brushes for cleaning intricate areas like vents and crevices.
Drying towels: Use microfiber drying towels to avoid water spots.
Clay bar kit: A clay bar kit helps remove contaminants and provide a smooth surface.
Polishing compound: Choose a polishing compound suitable for your car's paint type.
Polishing machine: Optional but recommended for more extensive detailing.
Wax or sealant: Select a high-quality wax or sealant for protection and shine.
Interior cleaning products: Vacuum cleaner, interior cleaner, and brushes for cleaning the interior.
Glass cleaner: A streak-free glass cleaner for all windows and mirrors.
Step 2: Pre-Wash Inspection
Begin with a pre-wash inspection. Walk around your vehicle and note any areas with visible dirt, grime, or stains. This will help you pay extra attention to these spots during the detailing process.
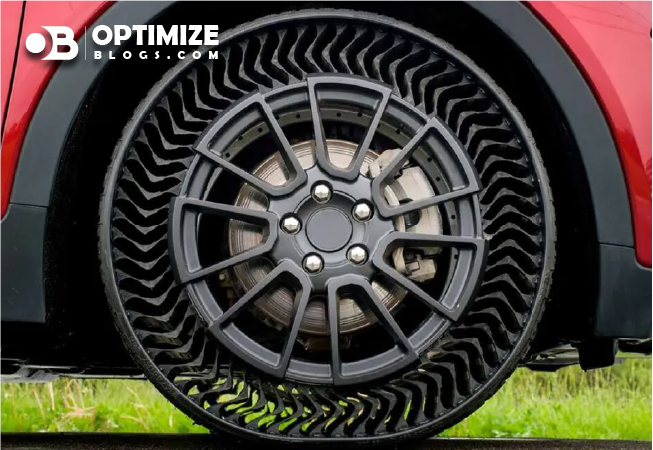
Step 3: Wheels and Tires
Start by cleaning the wheels and tires. Follow these steps:
Rinse the wheels and tires with a hose to remove loose dirt and debris.
Apply wheel cleaner and agitate it with a soft brush to remove brake dust and grime.
Rinse thoroughly and dry with a microfiber towel.
Step 4: Exterior Washing
Now it's time to wash the exterior of your car:
Fill one bucket with soapy water and the other with clean water for rinsing.
Start at the roof and work your way down. Use a soft wash mitt or sponge and dip it into the soapy water.
Wash the car in straight lines, avoiding circular motions that can cause swirl marks.
Rinse the wash mitt or sponge frequently in the clean water bucket to prevent dirt from getting back on the mitt.
Pay special attention to areas with heavy dirt or contaminants. Use a clay bar if necessary to remove embedded contaminants.
Rinse the car thoroughly with a hose, ensuring all soap residue is removed.
Dry the car using a microfiber drying towel, starting from the top and working down.
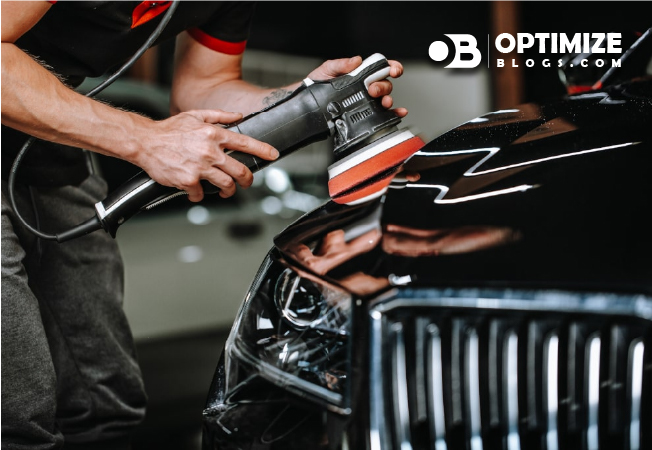
Step 5: Paint Correction (Optional)
If your car has minor paint imperfections like swirl marks or light scratches, you can use a polishing compound to correct them. Here's how:
Apply a small amount of polishing compound to a foam applicator pad.
Spread it evenly on the affected area and work in small sections.
Use a polishing machine or buffing pad for larger areas.
Wipe away the excess compound with a clean microfiber towel.
Step 6: Wax or Sealant
To protect your car's paint and give it that brilliant shine, apply wax or sealant:
Use an applicator pad to apply a thin, even layer of wax or sealant to the car's surface.
Allow it to haze over (usually for a few minutes) and then buff it off with a clean microfiber towel.
Follow the manufacturer's recommendations for curing time.
Step 7: Interior Cleaning
Don't forget to detail the interior:
Remove all loose items from the interior.
Vacuum the carpets, seats, and floor mats thoroughly.
Use an interior cleaner to clean surfaces like the dashboard, door panels, and center console. Be sure to use appropriate brushes for crevices and vents.
Clean the windows and mirrors using a streak-free glass cleaner.
Condition and protect leather or vinyl surfaces with a suitable product.
Step 8: Final Touches
To complete the detailing process:
Apply tire dressing to give your tires a glossy finish.
Dress exterior trim with a trim dressing product to restore its appearance.
Use a quick detailer spray for a final shine and added protection.
Inspect your car for any remaining imperfections and touch them up as needed.
Conclusion: Showroom Shine Achieved
With the right tools, products, and techniques, achieving a showroom shine for your car is entirely achievable at home. Regular detailing not only enhances your vehicle's appearance but also protects its paint and surfaces from the elements. Whether you're preparing your car for a special event or simply want to maintain its beauty, these car detailing tips will help you achieve that head-turning, gleaming finish you desire. Remember, patience and attention to detail are key to mastering the art of car detailing.